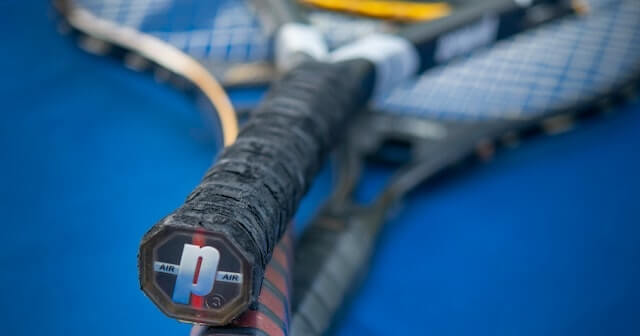
Racquet maintenance can be difficult for most players, with busy
schedules often making it challenging to find time for regular
upkeep. But one of the easiest and most impactful DIY jobs that
you can do is regripping your racquet handle. It’s a cheap and
easy job that takes just 15 minutes or so—and, when you’re done,
it feels like a brand-new racquet.
To help you get through this quick and easy task, we have compiled
an ultimate guide on how to regrip your racquet handle. From prep
work to final inspection, check out all the details in this
article!
Grip vs Overgrip
Before we get into the nitty-gritty of how to regrip a racquet,
let’s first talk about the difference between a grip and an
overgrip. A grip is a strip of material that goes around your
racquet’s handle to protect your hands from the vibrations of the
strings and to make it easier to hold the racquet. An overgrip is
a strip of material that goes around the racquet handle and
partially over the top of the grip. An overgrip can be used for a
variety of things, such as enlarging the racquet handle's
circumference, altering the texture and feel of the handle, adding
padding or cushioning for increased comfort, or just for show. A
grip is easy to remove and replace, while an overgrip is a bit
more challenging to remove.
Any type of racquet, including those used in tennis, badminton,
squash, racquetball, platform tennis, table tennis, and other
versions of the various racquet sports, can be used with
overgrips.
Overgrips can also be an excellent addition to your arsenal because they are typically far less expensive to replace than replacement grips.
Step 1: Prepare The Grip You’ll Be Installing
Start by removing any plastic wrapping or covering from your
overgrip or replacement grip.
Both of these grips often have a tiny tab at the thin end of the
grip that covers the sticky beginning of the grip.
Step 2: Remove The Old Grip
If you're replacing a grip, you should first take off the old grip and make sure the bevels of the racquet handle are clear and free of any debris. This guarantees that the new grip will fit a level surface and provides a good clean surface for the adhesive in the new grip.
Step 3: Install The New Grip
With the tapered, taped side tilted slightly upwards on one of the little bevels of the butt, begin putting the new grip tape down near the racquet's butt cap. If you play right-handed, wrap to the right, beginning with the tapered end and continuing with the remaining grip material. If you play with your left hand and are a left-handed person, wrap to the left instead. Your dominant hand will just feel better at ease wrapping in these directions.
Wrap the overgrip as per your comfort level. Snip off any extra as you reach the handle's top, then use the finishing tape to wrap the grip around the handle. Reposition the rubber collar so that it is encircling the handle's top.
Video Instructions
For detailed instructions on how to regrip a tennis racquet, see this video.
Video showing how to change a racquet's grip.
Video showing how to put an overgrip on a racquet.


